


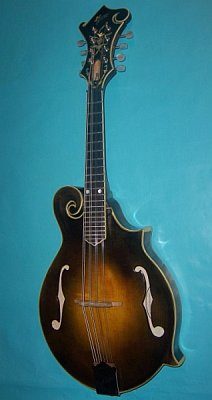
Producing Country Music: Production Tips and Techniques
Do you know why a country music sounds so different from pop and rock music? This is primarily because it’s been produced using different music[…]

54 New Year Resolutions to Improve Recording Quality of your Projects
If you are looking forward in improving your recordings for the next year; the following are the quick tips for beginners and novices in home[…]

Greatest Innovations in Music Recording & their Lessons
I believe that the biggest factor preventing you from being successful in recording are not the technical skills and talents but the lack of innovation[…]
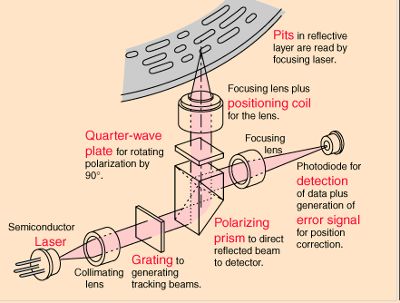
Digital Audio Recording Fundamentals and Basic Tests
The following questions would test how much of the basics that you have remember regarding digital audio and basic recording. This is the first thing[…]
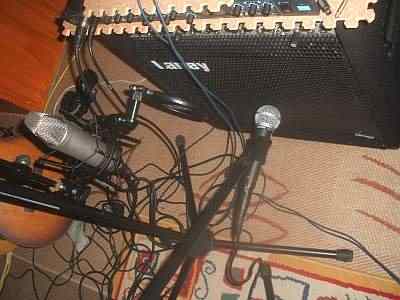
Record Clean Guitar using DI or Amplifier Cabinet Method
Recording clean guitar using light effects such as chorus, reverb are often tricky because of the clean nature of the guitar sound. This tutorial will[…]