


How to mix audio for perfect clarity and space
So you find it easy to isolate musical instruments with different frequency characteristics. For example if the mix is only consist of a simple vocal[…]
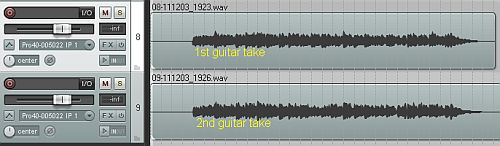
Mixing Clean Guitar and Applying Reverb Tips
A clean guitar does not have any effects. And sometimes it can be tricky to mix. This is a simple tutorial on how to mix[…]
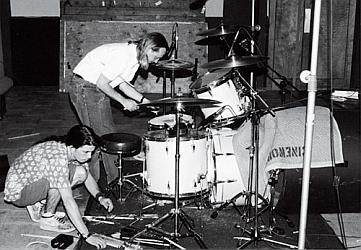
Do you apply effects during recording or only during mixing?
One of the most often asked question in music production is when to apply effects? Is it perfect to apply it during recording? Or record[…]

Editing audio files: Non-destructive vs. Destructive editing
If you are editing audio waveforms in digital domain, you will have two options. The first option is to edit the files non-destructively while the[…]
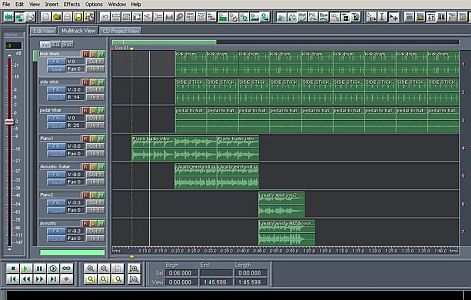
Mixing in the Box vs. Mixing out of the Box: Advantages & Disadvantages
This post contains all the information you need to know about mixing in the box and out of the box. It will list down all[…]